

Dental
New: Formlabs Preform – from 3D scan to printable dental model in just a few clicks

Apr
The new version of the Formlabs “Preform” software includes an exciting new software tool for dental customers. This tool has been specially developed for customers and prospective customers in dentistry and orthodontics. Thanks to the new “Scan-to-Model” function, intraoral 3D scan files can now be converted into closed, 3D printable models. And this can be done directly in the freely available “Preform” preparation software that comes with the Formlabs 3D printer (at no extra cost).
In this way, Formlabs enables all dental customers who work with or receive data from a 3D intraoral scanner to convert it into physical models free of charge. Whether you are new to digital dentistry or already have the experience and resources, this simple and powerful tool will save you time and effort in converting 3D scans into 3D printable models.
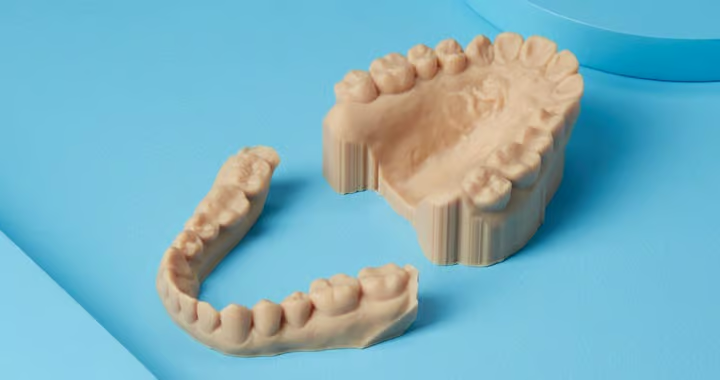
From intraoral scan to dental model in just a few clicks
The production of dental models is sometimes an easy introduction to dental 3D printing – especially for dental practices and laboratories that already use a 3D intraoral scanner or its data. However, 3D printable models cannot be obtained directly from a 3D dental scan. In reality, the scan file must first be turned into a watertight volume model before 3D printing. Dental software (such as that used for the development of appliances, jaw corrections, etc.) can be used for this. However, these cost up to CHF 5,000. Small labs or practices that are only interested in simple models can opt for free computer-aided design (CAD) software that is not specifically intended for dentistry. But this takes time to evaluate and practice using.
Thanks to the “Scan to Model” tool, Formlabs is now making it easier to get started with 3D printing in dentistry. Simple applications that do not require CAD can be implemented in your own laboratory without additional software costs. With just a few clicks, the scan-to-model function allows you to import intraoral scans, remove unnecessary artifacts and convert them into solid models for 3D printing – all within the Formlabs Preform software.
Where can I find the scan-to-model tool in Formlabs Preform?
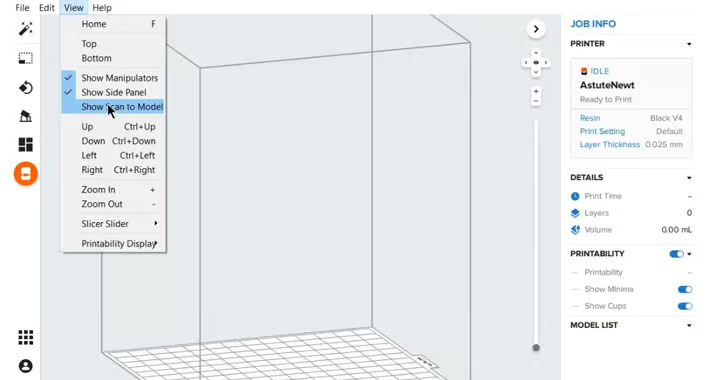
So far so good. You have installed or updated the Preform software. However, the tooth that displays the “Scan-to-Model” tool does not appear anywhere. So where is the “Scan-to-Model” tool in the Formlabs Preform Software?
Quite simple: Navigate to “View” in the menu bar. In this drop-down menu, check the “Show Scan-to-Model” box. A tooth symbol will then appear in the left-hand menu bar. Click on this symbol to start the tool. You will then be guided through the process step by step.
Attention: You can activate this tool if you are connected to a Formlabs 3D printer – a Form 2, a Form 3B or a Form 3BL in your network. However, the tool cannot be activated when using virtual machines or the Form 3 or Form 3L.
Applications: From diagnostic to aligner models
With the “Scan to Model” tool in Preform, you can go directly from a 3D dental scan to a 3D printed model for a range of applications.
Diagnostic models
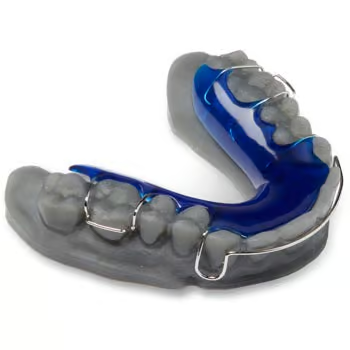
Thermoformed & orthodontic dental applications
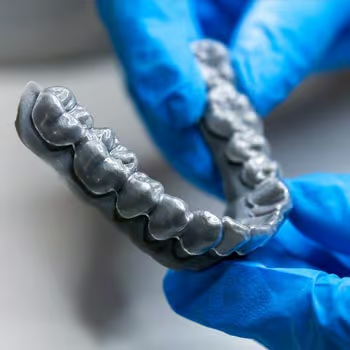
Models for fit testing
Create diagnostic models to visualize patient anatomy and case planning. Use the 3D models as presentation models for patient consultations and explanations. Use 3D-printed models to produce thermoformed and orthodontic appliances such as retainers, grinding splints or mouthguards/toothguards for athletes. Or produce fit-check models to validate the fit of an appliance or restoration – without patients or having to pay a laboratory.
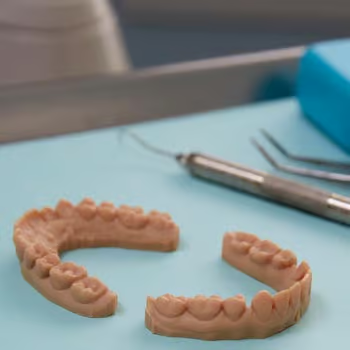
Formlabs offers a range of 3D printing materials for dental applications. As a result, some are specifically validated for the production of precise dental models. The Draft V2 Resin is suitable for fast printing. With the Model Resin, on the other hand, you can produce ochre-colored models that resemble conventional models. For bright white models, use the White Resin.
Finally, with the Draft V2 Resin and the “Scan to Model” function, you can go from a 3D scan of a patient to the finished model in under an hour. This enables treatment in one session or same-day dispatch or delivery.
Workflow with “Scan-to-Model” – step by step
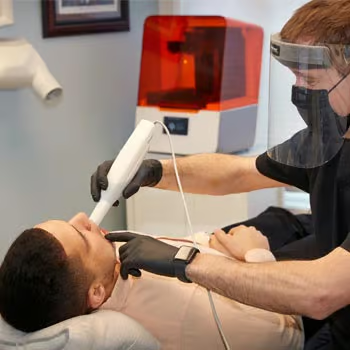
1. scanning
Capture the patient’s anatomy digitally with a 3D intraoral scanner. Save the upper and lower scan as separate STL files.
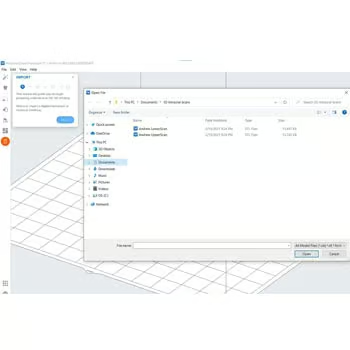
2. data import
Import the scan files into PreForm. You can import the data together or separately.
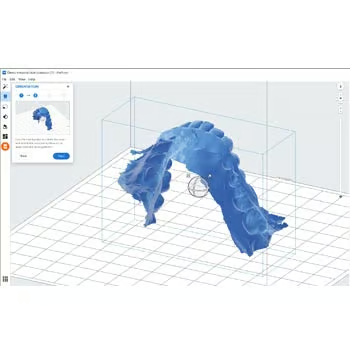
3. orientation
Use the manipulator (ball) to rotate the model so that the occlusal surface is facing upwards.
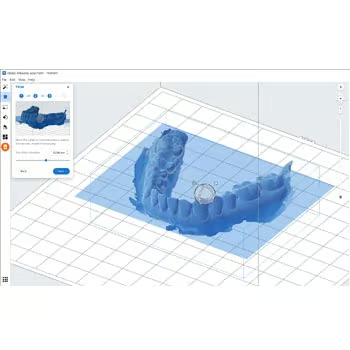
4. trimming
Move the slider to remove artifacts or shorten the model.
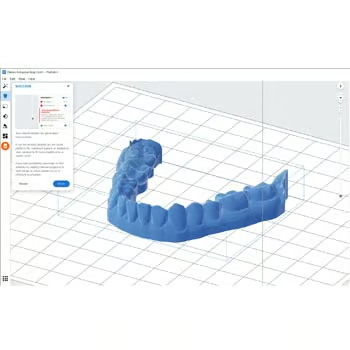
5. create a plinth
Move the slider to add an additional plinth below the cutting plane.
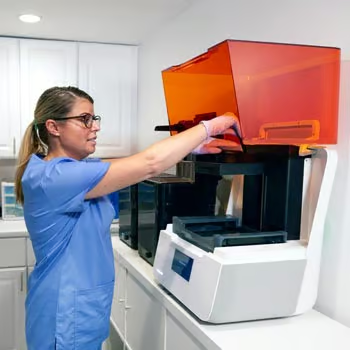
6. 3D printing
For a quick print, leave the model horizontal. To produce as many models as possible per print, place it vertically.
Discover the dental 3D printing products from Formlabs
Discover the Formlabs ecosystem for dental applications: The Formlabs 3D printers Form 2, Form 3B and Form 3BL, as well as the entire material library of dental materials and the Preform software. We will be happy to assist you with any questions you may have about Formlabs products.
Contact us if you would like more information on creating multiple files with “Scan-to-Model”, for example, or if you would like to know how to easily prepare prefabricated hollow models for 3D printing.
Contact us